My blog about my wargaming activities. I collect a lot of 15mm miniatures for the American War of Independence and so collect a lot of rules for this period. I started miniatures with Napoleonics, so I have a number of armies in 6mm and 15mm figures for skirmishing. I have15mm WW II figures that I use for Flames of War, Memoir '44, and someday, Poor Bloody Infantry. Finally there is my on-again, off-again relationship with paper soldiers that I sometimes write about.

Tuesday, February 09, 2021

Bondic for Strengthening Miniatures

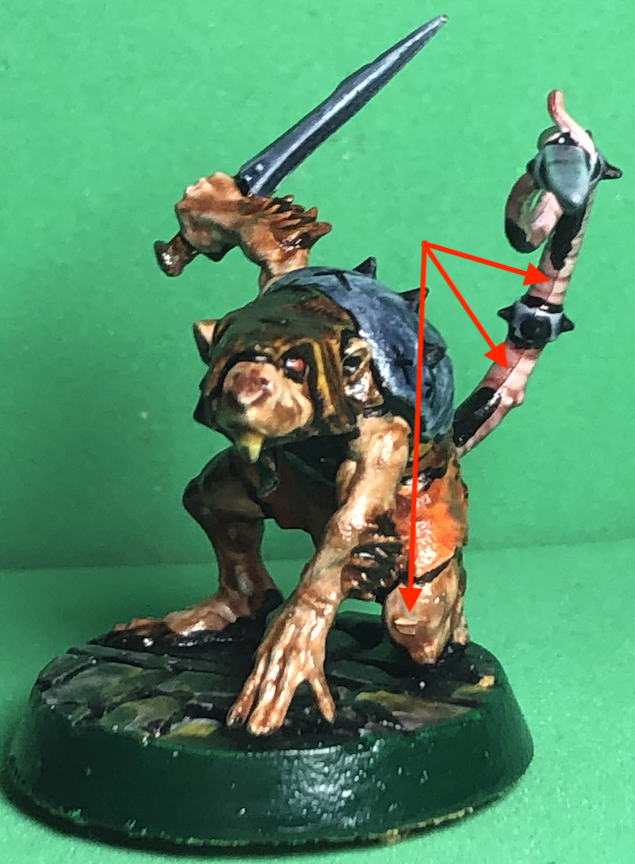
 Have you ever wished for a material that you could use to strengthen miniatures without  significantly altering it or increasing it in size? I always dreamed about a 'plastic coating' that I could put on a miniature that would somehow make weak parts more rigid, like swords, bayonets, spears, flag poles, and such. The image below shows an example of what I mean.

I purchased an Aztec army from a gentleman selling off his friend's collection to help out his friend's widow. The figure on the right is what I received (less the basing). Notice the spear in his hand. These figures are not pewter, they are lead, and the spear is like limp rubber. It does not take much handling to bend the spear shafts. Eventually it will break.


The figure on the left is one that I washed and touched up, but also where I replaced the spear with steel piano wire. (That point is deadly sharp, I can attest!) I had to replace the spear on that one because it was so badly damaged it was unsalvageable. It would have been nice to be able to put a coating of some on the lead spear that would make it more rigid and less prone to bending without having to remove the spears that were epoxied (not white glued or superglued, but old, solid, two-part epoxy) to the hand. Each figure would require drilling and scraping that old epoxy out and in the end I lose that distinctive, cast obsidian spearhead.

Noticing last night how the Bondic filled gaps and essentially looked like a clear, hard plastic in the gaps, I decided to try some on the lead spears to see how well it held up after the Bondic cured. Given the quick curing time it does not really have enough time to droop and bead on the underside to the extent that two-part epoxy does.

First I straightened out the spear and then I put a very small drop on the top of the spear, spreading it out with the applicator tip just on the topside. I cured that and tested. It definitely added rigidity, but it went from limp rubber rigidity to that of medium softness plastic. Better, but still not there. I applied a coat to the underside, cured, added another to one of the sides, and cured. By then it was starting to feel as rigid as hard plastic.

The Bondic did not appear to add substantially to the size and volume of the spear, but you could feel the unevenness of the application. If I painted over the material with paint I am sure you would see it. Instead I will probably varnish over it with matte varnish in order to take away the obvious shine.


I will let you know if my opinion on using Bondic to strengthen miniatures holds up. If it does, I can see using this on spears, swords, and bayonets on 6mm figures (especially resin printed miniatures) and soft plastic figures like Airfix and their sort.

Sunday, February 07, 2021

Bondic for Filling Gaps on Miniatures

One of the great shames I hold is that I am really lazy about removing mold lines from my miniatures before painting. One of the things that simple painting methods generally do is highlight those mold lines. Don't believe me? Try dry-brushing, washing, or using contrast paints on an area with that mold line. Not only will those things show the line, but it will highlight it as the light catches on the edge and magnifies it.

Oh the shame!

Another area that is a problem, especially with the newer Games Workshop snap-together miniatures, is that they are designed to snap fit tightly. But if they don't, perhaps because of some imperfection in the plastic injection, they do not come together, creating a gap, and are next to impossible to pull apart without breaking the posts, or even the whole miniature.

In the picture below you can see the better side of a squig. This one did not go together very well and created a huge gap (red dashed area). In the past I tried a number of solutions: gel super glue; baking soda and liquid super glue; gloss varnish; various adhesives like white glue/PVA, tacky glue, and Modge Podge; sculpting material like Miliput, Green Stuff, Vallejo Modeling Paste; and Squadron Putty. Success or failure largely depends upon your ability to get the material into the gap, how fluid the material is, setting and curing time, and the size of the gap.

Things like adhesives tend to be very fluid, and thus hard to keep in place if the setting time is too long. Solids like putties and pastes tend to be harder to get into place (and only into the gap) and have long curing times.

I have heard of Bondic before, including as a gap filler for modeling, but had never tried it. Bondic is a liquid adhesive that is cured by shining a UV LED light on the material for 4 seconds or so.

Given the quick cure time, I decided to give it a try. It is not exactly cheap ($40 for who knows how many gaps and models), but as you can see with the gap above, if I can fill that easily and cure it quickly (so I can continue to prime the figure immediately afterward), it might well be worth it.

As you can (hopefully) see in the image above, Bondic easily filled this very large gap with ease. Although the material is fluid and thus runs, it is pretty viscous so it does not flow everywhere like white glue/PVA or superglue would.

If I were to have any complaint it would be that there is no real sign that the material is cured. It does not change colors or frost over; it simply remains glossy and clear. Because of that, if you need additional layers to fill the gap you might have to fill, cure, paint, inspect, and then repeat. Given the incredibly fast cure time, however, this is possible.

Further, because the material does not cure at all until UV light hits it, you do not have to worry about the material hardening if you leave the cap off, or that you have to rush to cure. In fact, I had a set of 9 miniatures that needed gaps filled and I was able to do all of them at once, cap the adhesive, then cure all of the miniatures. Doing something like that with baking soda and superglue or fast setting epoxy is not really possible.

As I use it more I may revisit the issue, especially if my opinion changes, and update you here.

Blog Archive

Blog and Forum Pages

Popular Posts

Followers

About Me

My photo
Huachuca City, Arizona, United States
I am 58 yrs old now. I bought a house in Huachuca City, AZ working for a software company for the last three years. To while away the hours I like to wargame -- with wooden, lead, and sometimes paper miniatures -- usually solo. Although I am a 'rules junkie', I almost always use rules of my own (I like to build upon others' ideas, but it seems like there is always something "missing" or "wrong").